 Photo by Matheus Viana from Pexels
You've spent months planning your exhibition. The artwork is curated, the gallery is booked, the invitations are sent. Then the show opens, runs for six weeks, and closes—and you realize you have three mediocre iPhone photos to prove it ever existed.
This happens to more artists and galleries than you'd think. After documenting over 150 exhibitions, I can tell you that comprehensive documentation isn't something you add at the last minute. It's a strategic process that starts weeks before opening and continues through the entire exhibition lifecycle.
Let me walk you through exactly how to document an art exhibition properly, from initial planning to final archival images.
Table of Contents
- Why Exhibition Documentation Matters
- Pre-Exhibition Planning (3-4 Weeks Before)
- Installation Documentation
- Opening Night Coverage
- Post-Exhibition Workflow
- Equipment Checklist
- Frequently Asked Questions
Why Exhibition Documentation Matters
Exhibition documentation serves multiple critical purposes that extend far beyond simple record-keeping.
Once an exhibition closes, the only evidence of how it looked, how the work was installed, and how people experienced it exists in your documentation. Museums, galleries, and artists rely on this archival material for future exhibition planning and curatorial decisions, grant applications and funding proposals, academic research and art historical documentation, and artist portfolio development throughout their careers.
Professional documentation also creates marketing assets you'll use for years—social media content promoting future shows, press materials and media kits, gallery website updates and online portfolios, and email campaigns reaching collectors and visitors.
And high-quality exhibition photos directly support sales by showing artwork in professional context to potential buyers, providing installation references for collectors, creating materials for art advisors and consultants, and building credibility through professional presentation.
Professional Exhibition Documentation
The Lightroom Studio provides complete exhibition documentation packages from installation through closing. Learn more about our services
Pre-Exhibition Planning (3-4 Weeks Before)
Successful documentation starts before the first artwork is hung. Here's what to plan in advance:
Define Your Documentation Needs
Different exhibitions require different documentation approaches. Basic documentation covers installation views showing the complete gallery space, individual artwork documentation, and opening night event coverage. Comprehensive documentation expands to include the installation process and behind-the-scenes work, artist talks and special events, visitor engagement throughout the run, and closing and deinstallation. Clarify your priorities before you start.
Book Professional Services Early
Professional photographers often book 2-3 weeks in advance, especially during peak exhibition seasons from September through November and March through May. Waiting until the week before opening means settling for whoever's available rather than choosing based on quality. When booking, provide exhibition dates and timeline, gallery address and access information, number of artworks to document, any special requirements like video or time-lapse or aerial shots, and your delivery timeline for edited images.
Coordinate with Gallery Staff
Schedule documentation sessions around gallery operations. Arrange installation day access for clean shots before opening. Confirm you can adjust gallery lighting for optimal photography. Coordinate photographer placement during opening night. Plan for mid-exhibition documentation sessions if you want to capture visitor engagement over time.
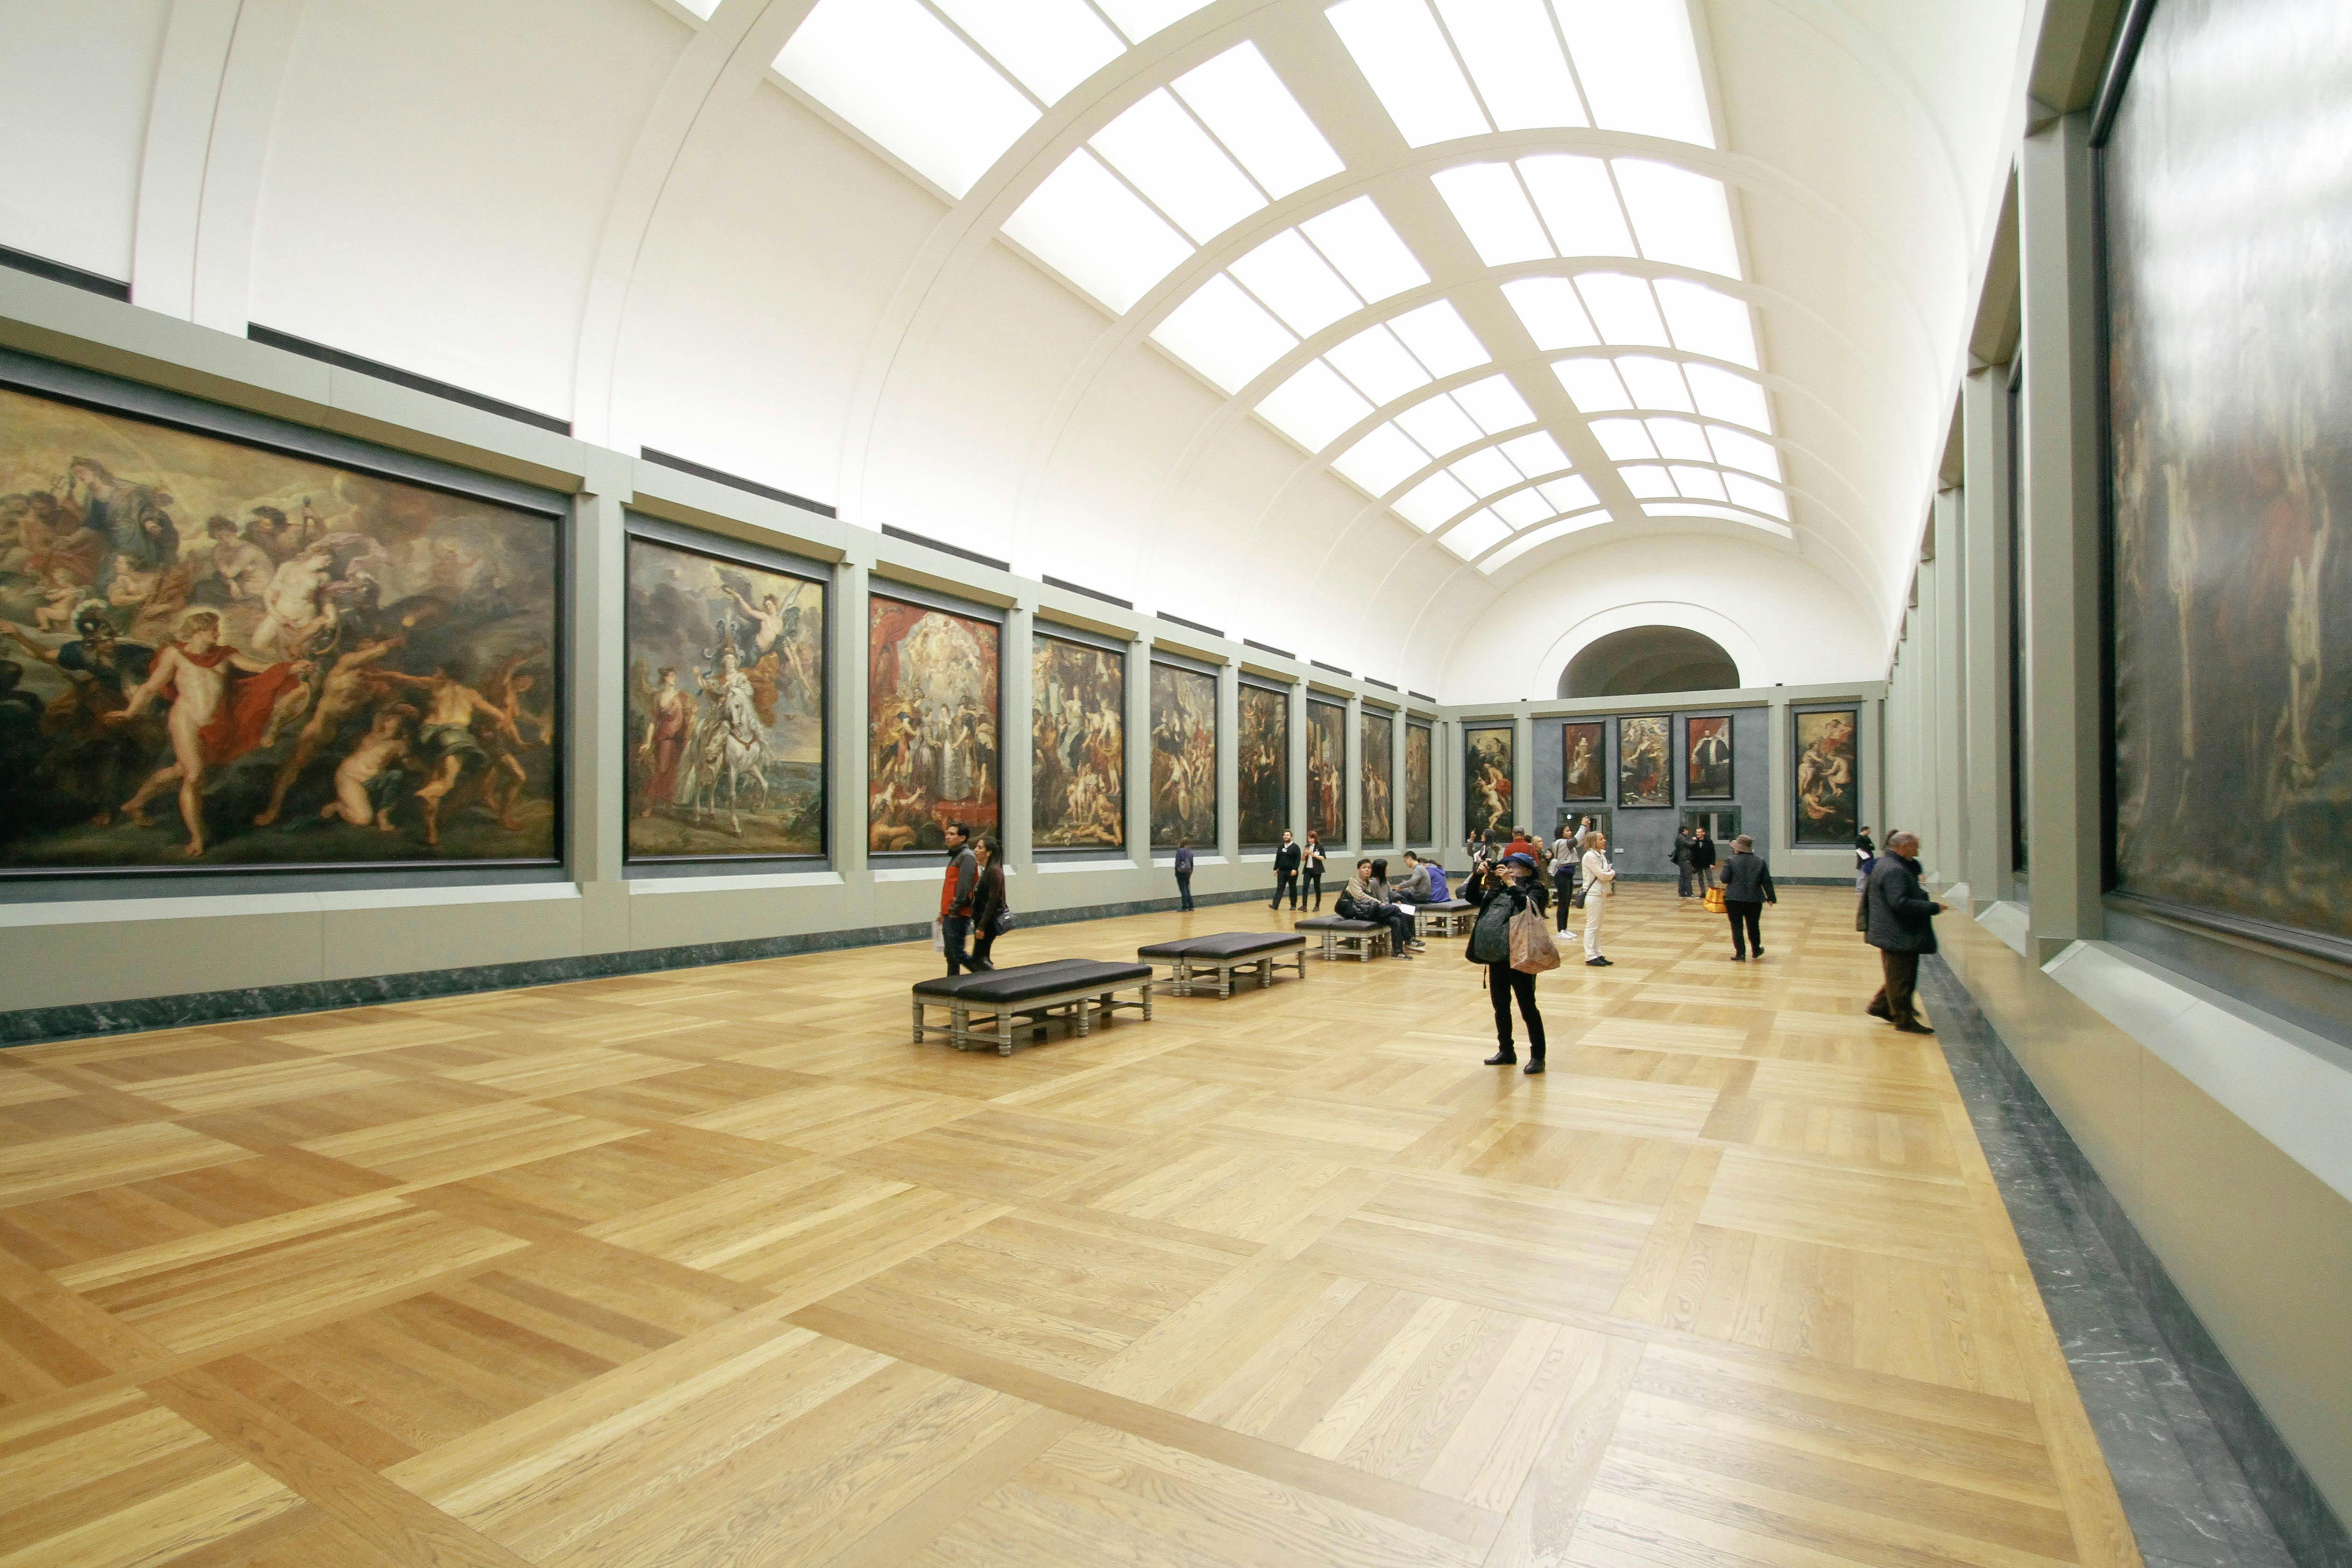 Professional gallery documentation captures both the artwork and the visitor experience in the exhibition space | Photo by Riccardo from Pexels
Installation Documentation
The installation phase provides your cleanest, most controlled documentation opportunity. This is when you capture the exhibition as the curator intended—before crowds, fingerprints, or wear and tear.
Timing Your Installation Shoot
Ideal timing is after complete installation but before public opening. Most galleries allow 2-4 hours for professional documentation on installation day or the morning of opening. Allow time for final touches like label straightening, floor cleaning, and lighting adjustments. If the gallery has windows, photograph during optimal natural light hours. Schedule before any preview events or VIP tours.
What to Photograph
Start with establishing shots—wide-angle views showing the entire gallery space, installation layout, and overall aesthetic. These images establish context and show curatorial decisions. Capture the entry view (what visitors see when entering the space), full wall shots documenting each wall of artwork completely, corner-to-corner views showing spatial relationships, and aerial or elevated shots of the overall layout and flow if possible.
Document each piece individually with proper framing, lighting, and detail. Shoot straight-on showing the entire work with surrounding wall space, tight crops showing just the artwork, detail shots for works with significant texture or technique, and label shots pairing artwork with its wall text. Don't forget grouping and pairing shots that show how works relate to each other—the curatorial relationships and visual dialogues between pieces.
Technical Considerations
Use the gallery's existing lighting system when possible, adding supplemental lighting only when necessary. Ensure even illumination across artworks and meter for highlights (the artwork surface) not shadows. Shoot RAW for maximum editing flexibility, use a tripod for sharp distortion-free images, set aperture at f/8-f/11 for optimal sharpness and depth, and keep ISO at 400-800 to maintain quality while allowing reasonable shutter speeds.
Installation Photography Packages
Half-day installation documentation with edited images delivered within 48 hours. Perfect for press releases and marketing materials. Request a quote
Opening Night Coverage
Opening night documentation serves a different purpose than installation shots. You're capturing the event, the energy, and the social proof that the exhibition matters.
What Makes Good Opening Coverage
Opening night coverage captures the event energy and social proof that the exhibition matters. Essential shots include guests arriving and checking in, wide shots showing attendance and atmosphere, visitors viewing and discussing the artwork, artist talks and gallery tours, social interactions and networking, and details like reception setup, drinks, printed materials, and gallery ambiance.
Photography Approach for Events
Opening night requires different techniques than installation photography. You're working with moving people in mixed lighting conditions. Shoot handheld for mobility and spontaneity, use fast prime lenses (f/1.4-f/2.8) for low-light performance, bump ISO to 1600-3200 to maintain action-stopping shutter speeds, and use bounce flash or available light to avoid harsh direct flash.
Focus on genuine moments rather than staged poses. Show artwork in context with viewers. Frame shots to tell the story of the event. Balance wide establishing shots with intimate details.
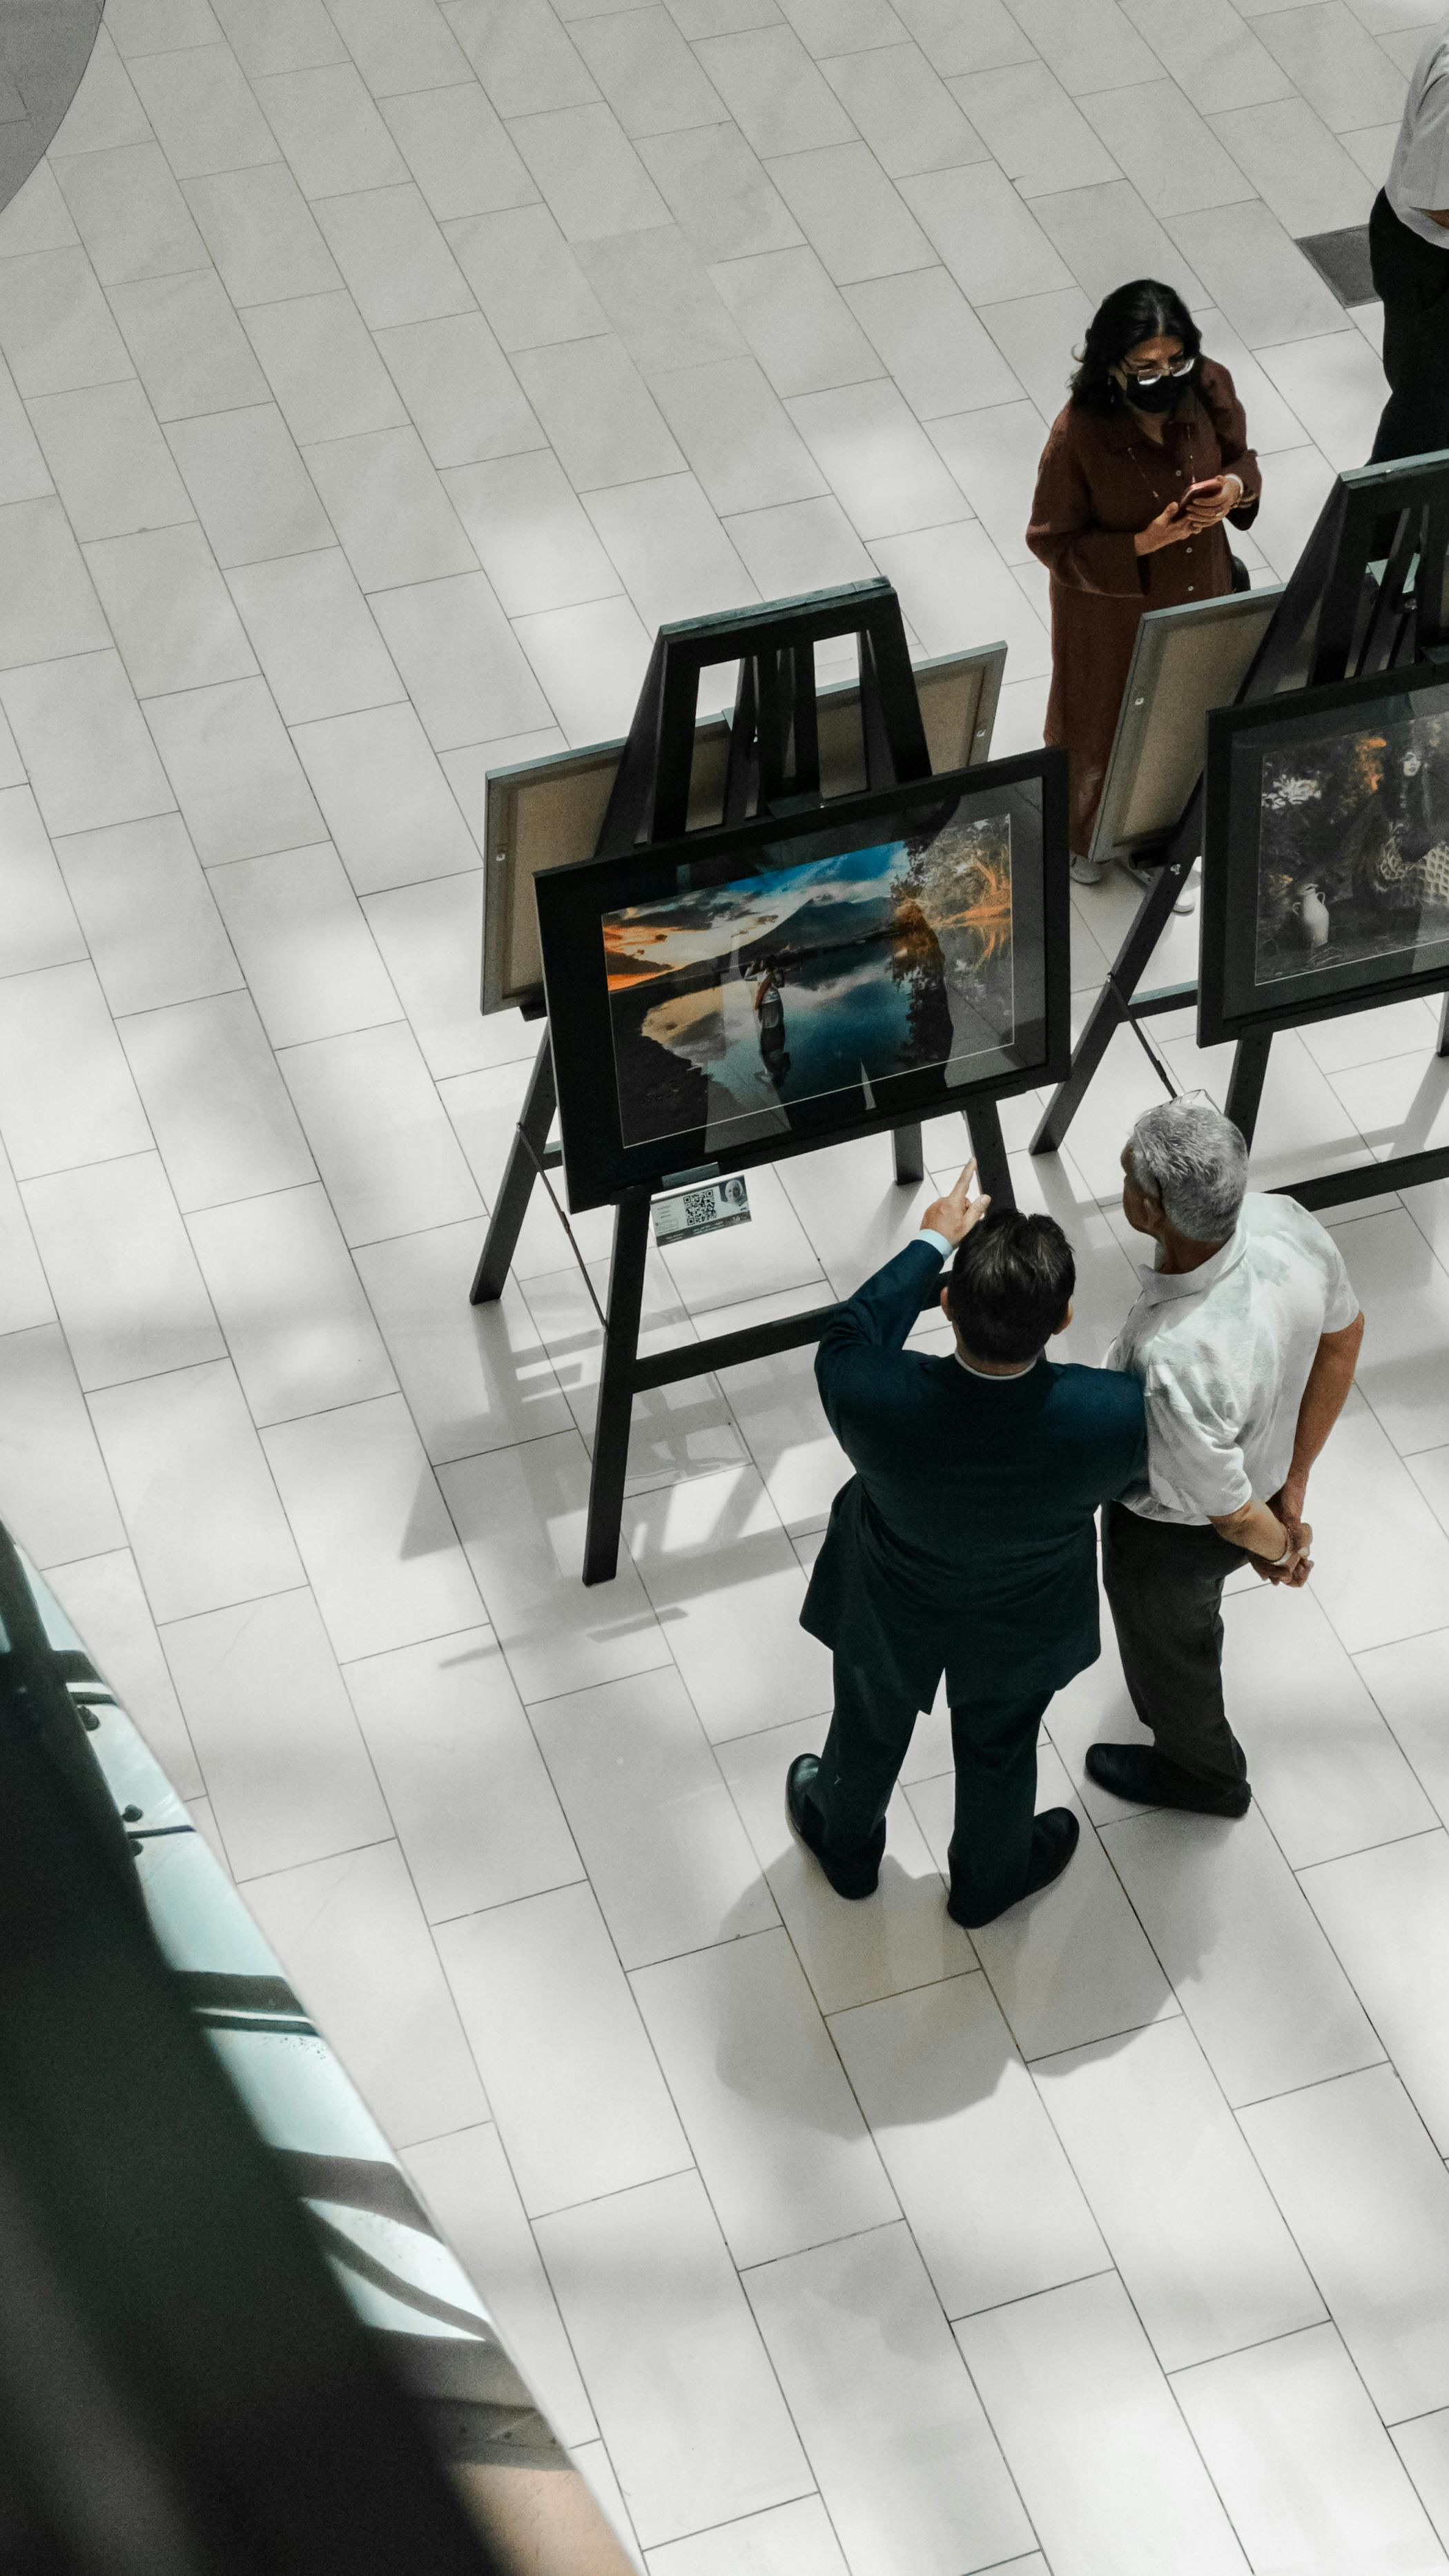 Capturing visitor engagement and conversations provides authentic documentation of how people experience the exhibition | Photo by YOUSIF from Pexels
Post-Exhibition Workflow
Raw documentation is useless without proper processing and organization. Establish a systematic post-shoot workflow:
Image Processing
Start by culling obvious rejects—out of focus, poor exposure, duplicates. Rate keepers by priority (5-star for essential, 4-star for strong alternatives). Aim for a 30-50% selection rate; if you shot 200 images, deliver 60-100.
Then handle color correction and editing. Color-correct for accurate artwork representation. Straighten and crop for proper framing. Adjust exposure and contrast for both print and screen use. Remove distractions like exit signs, cords, and ceiling tiles when appropriate.
Export and deliver files in multiple formats. Create archival masters as full-resolution TIFF or high-quality JPEG. Generate web versions at 2000px long edge, sRGB color space, optimized for web. Prepare social media versions with platform-specific sizing and optimization. For print materials, export at 300 DPI at intended print size.
Organization and Archiving
Organize documentation for easy retrieval years later using a clear folder structure: Exhibition_Name_Year with subfolders for Installation, Opening_Night, Ongoing_Coverage, and Closing, each containing RAW, Edited, and Web subdirectories. Add exhibition name, date, gallery, and artist info to EXIF data. Tag images with relevant keywords for searchability. Include artwork titles and details in file names or captions.
Equipment Checklist
Professional exhibition documentation requires a full-frame camera (24+ megapixels), zoom lenses covering 16-200mm range, a sturdy tripod for installation shots, flash for event coverage, extra batteries and memory cards, and a color checker for accurate calibration. Optional equipment includes portable LED panels, light stands, tethering setup, and a step ladder for elevated angles.
Complete Exhibition Documentation
Full-service packages covering installation through closing. Professional equipment and experienced gallery photographers. Call (929) 445-0603 for availability
Frequently Asked Questions
When should I start planning exhibition documentation?
Start planning 3-4 weeks before the exhibition opening. This timeline allows you to book professional photographers (who often need 2-3 weeks advance notice), coordinate with gallery staff, arrange equipment rentals if needed, and plan your documentation strategy. Last-minute booking often results in unavailable photographers or rushed, incomplete documentation that misses key moments.
What's the difference between installation documentation and opening night coverage?
Installation documentation captures the exhibition space before the public arrives—clean, well-lit shots of artwork in context without crowds. These images serve archival purposes and sales materials. Opening night coverage captures the event itself: guests viewing art, artist interactions, crowd energy, and social atmosphere. Professional documentation includes both: installation shots for permanent record and marketing, opening shots for social media and event promotion.
How much does professional exhibition documentation cost?
Professional exhibition documentation typically costs $800-2,500 depending on coverage scope. Half-day packages (installation shots only) run $800-1,200. Full-day packages (installation plus opening night) cost $1,500-2,500. Per-hour rates for ongoing exhibition coverage range from $150-300/hour. Volume discounts apply for multiple exhibitions or ongoing gallery relationships. Investment returns through years of marketing materials and archival value.
Can I document my own exhibition, or should I hire a professional?
You can self-document if you have proper equipment, technical knowledge, and time during installation when you should be focusing on curatorial details. However, professional photography provides significant advantages: dedicated focus on documentation while you handle exhibition logistics, technical expertise for challenging gallery lighting, immediate availability of marketing-ready images, and archival-quality results. For significant exhibitions, grant-funded shows, or career milestones, professional documentation is strongly recommended.
What file formats should I receive from professional documentation?
Request multiple formats for different uses: (1) High-resolution JPEGs or TIFFs (300 DPI, full size) for archival and print use, (2) Web-optimized JPEGs (2000px long edge, sRGB) for website and online portfolios, (3) Social media-ready files sized for specific platforms, (4) Optional: RAW files for maximum future editing flexibility. Ensure you receive full usage rights for marketing, promotion, and archival purposes.
The Bottom Line
Exhibition documentation isn't an afterthought—it's an integral part of presenting and preserving your work. Proper documentation starts weeks before opening, continues through the entire run, and results in archival materials you'll use for years.
Plan 3-4 weeks in advance, book professional services early, capture clean installation shots before opening, document opening night energy and engagement, process and organize images systematically, and archive properly for future use. Done right, exhibition documentation provides marketing materials, archival records, and professional credibility that last far beyond the show's closing date.
The exhibitions you document thoroughly become permanent parts of your professional record. The ones you don't? They disappear from history.
Professional Exhibition Documentation Services
Complete coverage from installation through closing. Experienced gallery photographers with fast turnaround for press and marketing materials.
Request a Quote | View Portfolio | Call (929) 445-0603
The Lightroom Studio · Exhibition Photography Specialists
Related Reading
Creating Social Media Content for Gallery Openings
Professional strategies for creating engaging content that drives gallery attendance and engagement.
Documenting Mixed Media Art in NYC
Best practices for photographing dimensional artwork and complex materials in gallery settings.
Art Photography & Digitization Guide
Professional techniques for documenting artwork for galleries, artists, and museums.